
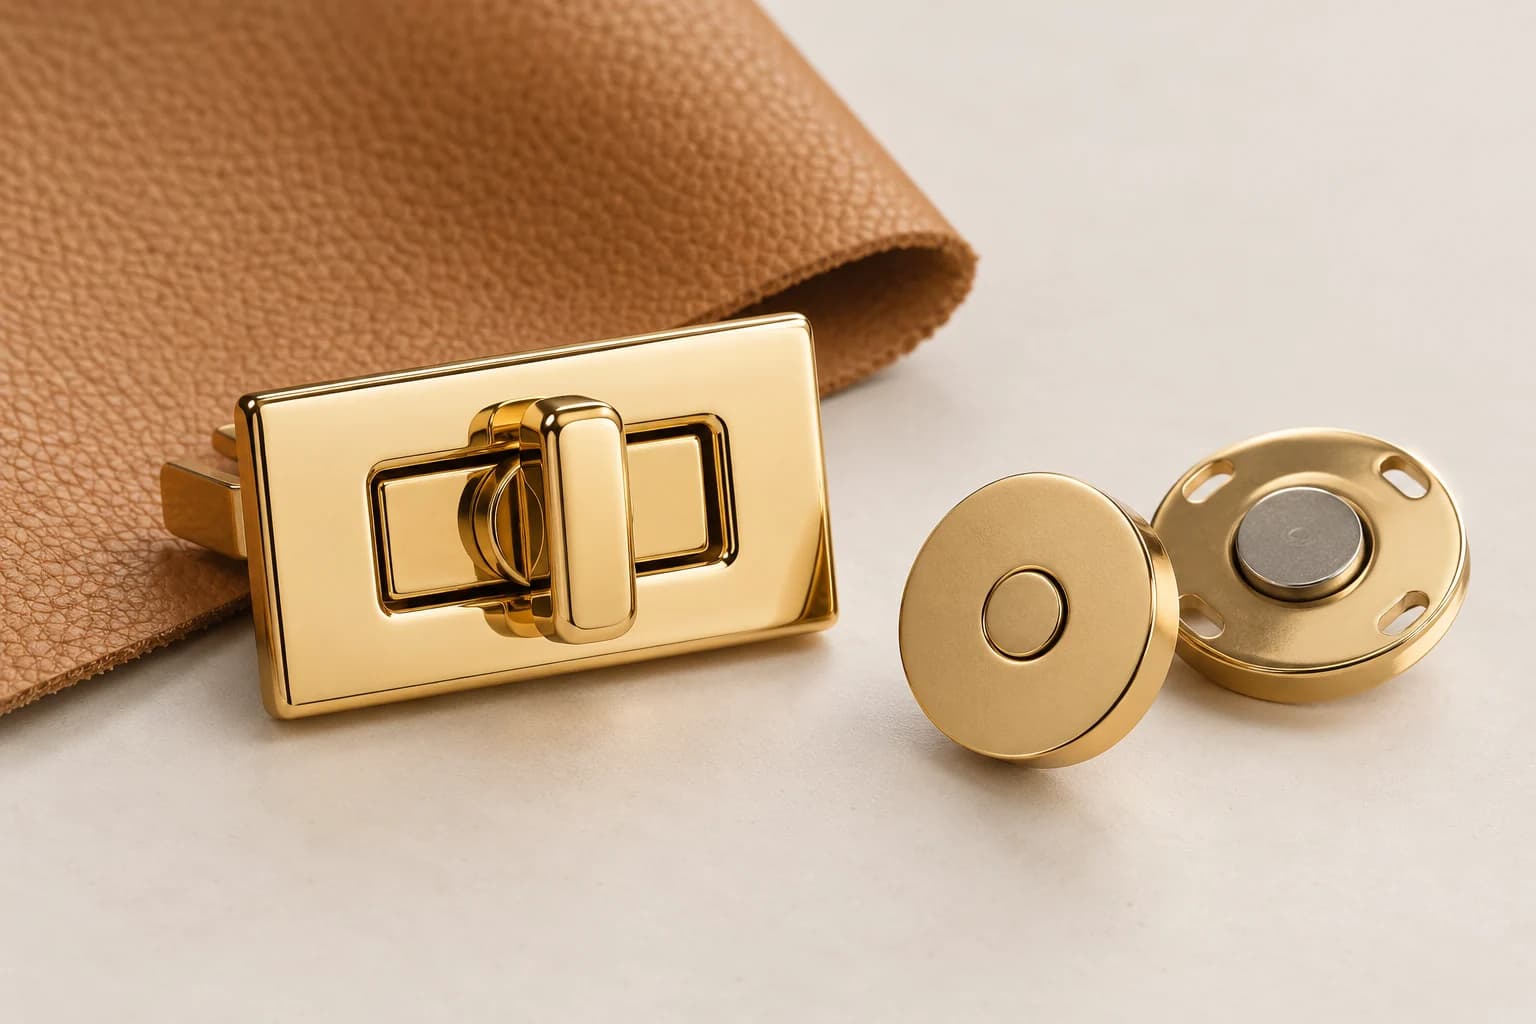
A handbag closure is both a visual feature and an interaction the customer repeats throughout the day. Comparing two attractive front views is not enough: the correct choice must also work with the flap, lining, reinforcement and assembly sequence.
This guide is for bag designers, manufacturers and sourcing teams comparing turn locks with magnetic snaps. Use it to shortlist a construction and prepare a useful sample request, rather than treating one mechanism as automatically better for every bag.
01 / FUNCTION
Start with the opening action, not the finish
A typical turn lock uses a rotating part that passes through a matching opening before turning to retain the flap. A magnetic snap brings two mating parts together through magnetic attraction and is generally opened by separating them. The precise behavior depends on the selected design.
Try the action in the way a customer will use the bag: carried on the shoulder, resting on a table and filled to its intended shape. Ask whether the user can find the closure easily and whether the flap naturally returns to its closing position. An appealing mechanism on a loose swatch can feel different on a finished bag.
| Decision | Turn lock | Magnetic snap |
|---|---|---|
| Opening routine | Deliberate rotation of the selected mechanism | Separation of the two mating parts |
| Visual direction | Often used as a visible front feature | Can be visible or integrated discreetly, depending on construction |
| Construction questions | Opening shape, rotating clearance and attachment details | Alignment, installed thickness and attachment details |
| Approval basis | Test the actual lock on the complete bag | Test the actual snap on the complete bag |
02 / INSTALLATION
Match the mounting system to the panel
Mounting varies by model. A turn lock may require rivets or other fasteners, while a prong-backed magnetic snap uses a different installation arrangement. Request the complete set, rear-view photographs and an installation drawing for the exact fitting before cutting your production panel.
Measure the finished stack where the closure attaches, including outer material, reinforcement, adhesive layers and lining where relevant. Confirm the allowable thickness with the supplier. Check how backing plates or fasteners will be covered and whether assembly still allows access to them.
- Confirm all included components: mating parts, plates, washers and required fasteners.
- Request hole or slot positions and orientation from the actual fitting, not a similar photograph.
- Review reinforcement with the bag maker; avoid prescribing one patch size for every material.
- Check exposed edges and the rear assembly for contact with the lining or contents.

Further reading: Buckleguy — 4016 turn lock mounting information · Sailrite — Magnetic Snap Fastener installation description
03 / FIT
Check alignment on the finished bag shape
Position both halves with the bag assembled into its intended shape. Marking each part independently from a flat pattern can overlook the space taken by seams, padding and folded edges. Confirm that the flap reaches its receiver without pulling the body out of shape.
For a turn lock, check that the moving part clears the opening and rotates without scraping. For a magnetic snap, check that both halves meet in their intended orientation without forcing the flap sideways. Repeat with representative contents so the panel is not approved only while empty.
Watch the material around the mounting point during opening. Record any lifting, cupping, distortion or visible backing outline. If the result is unsatisfactory, investigate the hardware choice, attachment and panel construction together instead of simply choosing a larger fitting.
04 / REQUIREMENTS
Do not confuse a closure with a security device
The word lock in a product name does not by itself mean keyed locking, theft resistance or a verified retention rating. Likewise, the visible diameter of a magnetic snap does not establish its installed opening force. Request evidence for the exact product if a measurable requirement matters.
Define the intended use and agree a relevant evaluation with the supplier and bag maker. A closure for an occasional-use evening bag may be assessed differently from one for frequently opened work bags. Set the test method, number of operations, sample condition and acceptable result before testing; do not copy an arbitrary cycle count from another product.
05 / SAMPLE REVIEW
Review finish and usability as a complete set
Place the proposed closure next to the actual rings, hooks, chain and logo hardware. Compare hue, brightness and texture in consistent lighting, then assess the complete bag. A highly polished focal closure may intentionally differ from a satin fitting, but that should be a design decision rather than an unnoticed mismatch.
Photograph the approved front and rear assemblies, record the hardware reference and keep a labeled physical sample. If anything changes after approval, such as panel thickness, finish or fastener length, review the effect before releasing production.
- Open and close the bag in its intended carrying positions.
- Check access to the opening without catching the lining or trim.
- Inspect alignment, rotation or mating action after assembly.
- Record agreed appearance limits and any outstanding corrections.
06 / NEXT STEP
Send a closure brief that can be quoted
Send a drawing or photographs showing the front, back and intended installation position. Add the finished panel thickness, preferred mechanism, target finish and expected quantity per style. State whether you need existing hardware or a new shape with a logo.
Ask the supplier to identify suitable options and confirm set contents, mounting details, sample availability and quotation terms. Leave unknown requirements marked as questions. A clear brief makes comparisons more meaningful than asking for a generic best handbag lock.
TIANHUI PRODUCT REFERENCES
Start with real product specifications
Use these current Tianhui listings to make your brief specific. Select a model, compare its listed dimensions and options, then tell us what your project needs.

S739: a turn-lock reference for a closure brief
- Product code
- S739
- Material
- Zinc Alloy
- Catalog size
- 42 × 55 mm
- Application
- Handbags & purses
Use S739 as a specific reference when discussing the flap, front appearance and opening action. Request the installation drawing and included mounting components, then review the complete fitting on your finished panel.
View product specificationsCOMMON BUYER QUESTIONS
Frequently asked questions
Are turn locks always more secure than magnetic snaps?
No universal security comparison follows from those names. They describe different closing actions. Assess the specific hardware and complete bag against an agreed requirement; do not assume a decorative turn lock is a theft-resistant lock.
Can I replace a magnetic snap with a turn lock?
Possibly, but the opening shape, attachment points, panel thickness and reinforcement may differ. Check the exact drawings and make an assembly sample before modifying production patterns.
What thickness should I tell the hardware supplier?
Provide the finished stack thickness at each attachment location, including relevant reinforcement and lining. Confirm how the selected closure accommodates that stack rather than specifying only the outer leather thickness.
Does a larger magnetic snap always hold better?
Size alone does not define installed performance. Magnet design, alignment, attachment and bag construction also need evaluation. Request product-specific information and approve an assembled sample.
What should I send for a closure quotation?
Send reference pictures or a drawing, installation position, finished panel thickness, target finish, quantities and delivery destination. Explain your preferred opening action and any measurable requirements.
References & further reading
- Buckleguy — 4016 turn lock mounting information
A first-party example of a rivet-mounted turn lock; its specifications do not apply to other models or Tianhui products.
- Sailrite — Magnetic Snap Fastener installation description
First-party instructions for one prong-backed snap illustrate why the selected mounting construction must be confirmed.